

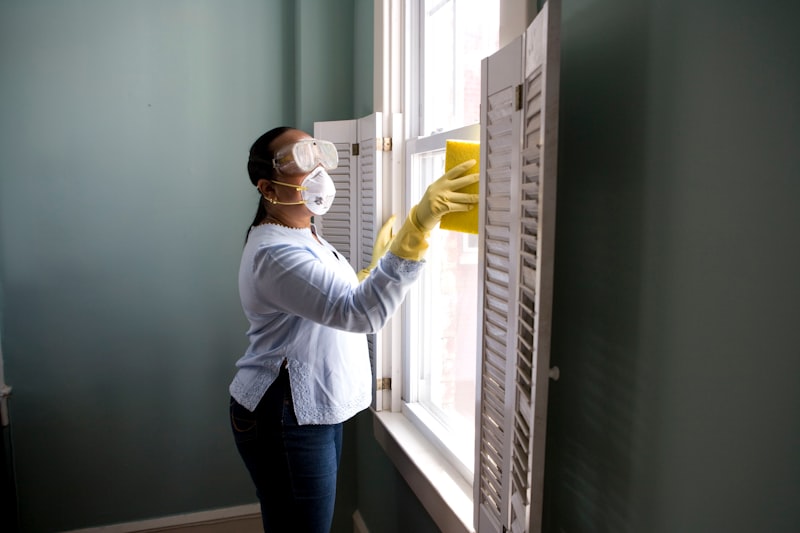

Late August feels like the wrong time to think about heating bills. It's still hot, the AC is still running, and the furnace is the last thing on anyone's mind. That's exactly why it's the right time to do this project. Weatherstripping and caulking are a lot more pleasant to tackle in warm, dry weather than they are in November when you're doing it with cold fingers because the first cold snap already caught you off guard.
I've done this project three years running now, and it consistently costs me under $40 in materials and takes a single Saturday morning. It's not a dramatic home renovation. It's closing the small gaps where conditioned air leaks out and outside air leaks in, and it makes a real, measurable difference on the first few heating bills of the season, when the furnace is working hardest to overcome a house that isn't sealed properly.
Why Late Summer Is the Right Time to Do This
Caulk and weatherstripping adhesive both cure better in warm, dry conditions. Caulk applied at 40 degrees in a drafty garage doesn't bond or flex the way it does at 75 degrees, and a lot of the weatherstripping foam and rubber gasket products explicitly recommend application above a certain temperature threshold for the adhesive to set properly. Doing this job now instead of in late fall means the seal you create is actually going to hold through the winter instead of failing halfway through January because it never cured right.
There's also a simple practical reason: you can actually feel where the problems are right now. On a warm, still day, hold a lit incense stick or a thin strip of tissue paper near window frames, door edges, and outlet covers on exterior walls. If the smoke or tissue moves without an obvious draft source like a fan, you've found a leak. This test is much easier to do calmly in August than while you're already cold and irritated in November.
The Shopping List
A one-inch-wide roll of self-adhesive foam weatherstripping tape runs about $6 to $8 and covers a surprising number of window frames and door jambs. A tube of paintable exterior caulk, plus a $4 caulking gun if you don't already own one, handles gaps around window frames, the spot where the wall meets the foundation, and any pipe or cable penetrations you find on an exterior wall. A door sweep for the bottom of an exterior door runs $8 to $12 depending on width. Outlet and switch plate foam gaskets come in a multi-pack for around $5 and are one of the most overlooked leak points in a house — a wall outlet on an exterior wall is basically a small hole straight to the outside if it isn't gasketed.
All together, materials for an average three-bedroom house run somewhere between $30 and $45, depending on how many doors and windows need attention and whether you already own a caulking gun.
Where to Actually Spend Your Time
Not every gap matters equally. Doors and windows are the obvious targets, but the highest-value, most-overlooked spot is usually where the house's structure meets itself — sill plates in a basement or crawlspace, the gap where a foundation meets exterior siding, and any point where a pipe, cable, or vent penetrates an exterior wall. These gaps are often larger and more constant than a window's, and they're easy to miss because they're not somewhere you feel a draft on your hands while standing in a normal room.
Attic access hatches and pull-down attic stairs are another frequently ignored leak point. A pull-down attic stair without a weatherstripped seal around its frame can leak as much conditioned air as a window left slightly open, and a foam-and-weatherstripping kit for exactly this purpose costs about $15 and installs in twenty minutes.
Don't bother caulking around interior doors or spending time on anything that separates two heated rooms from each other — the point is sealing the boundary between conditioned space and the outside (or an unheated attic/crawlspace), not sealing every gap in the house.
The Order of Operations for the Weekend
Start outside, in the morning while it's cooler, and do a visual pass of exterior caulk lines around window and door frames, looking for cracking, gaps, or caulk that's pulled away from the surface. Old, failed caulk needs to be scraped out before new caulk goes in, or the new bead won't adhere properly — this is the step people skip and then wonder why the caulk failed again within a year.
Move inside for the afternoon and do doors, windows, and outlet gaskets on exterior walls. Door sweeps are a five-minute install with a screwdriver. Window weatherstripping is just cutting the foam tape to length and pressing it into the frame channel where the sash meets the frame.
Finish with the attic hatch or pull-down stairs, since that's usually the messiest, dustiest task and better left for last.
What This Actually Buys You
The honest framing here isn't that this project alone will cut a heating bill in half — it won't. What it does is reduce the constant, unnecessary loss of heated air through gaps that serve no purpose, which means your furnace cycles less to maintain the same indoor temperature. For most homes, sealing the obvious gaps like this trims a noticeable percentage off the first couple months of heating costs, and it's a one-time job that keeps paying off every winter until the seals eventually wear out and need to be redone, usually several years later.
The real value is doing it now, while it's comfortable, cheap, and easy, instead of scrambling for a caulking gun during the first cold snap when the hardware store's weatherstripping aisle looks like it's been through a run and everyone else had the same idea a week too late.